Prerequisite products
Module installation
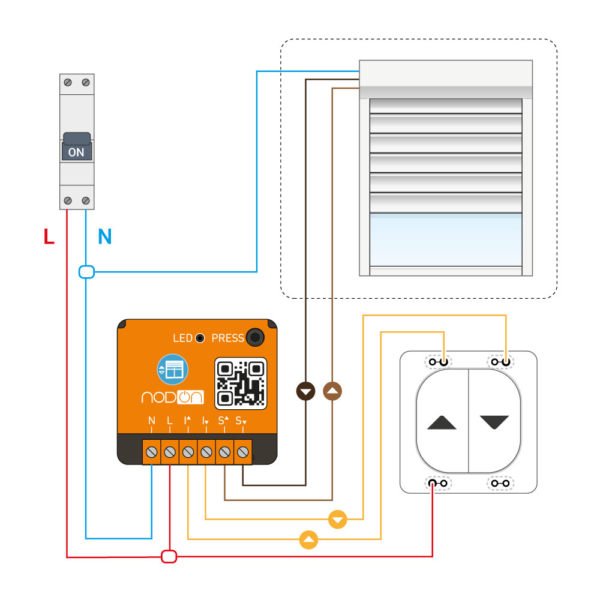
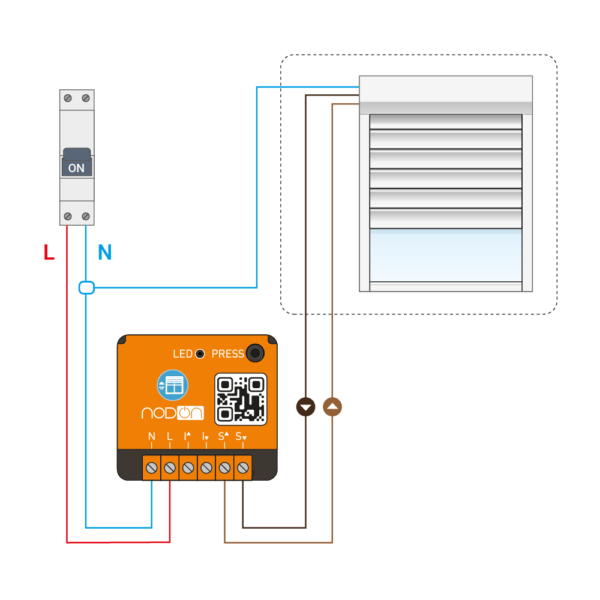
Wiring diagrams
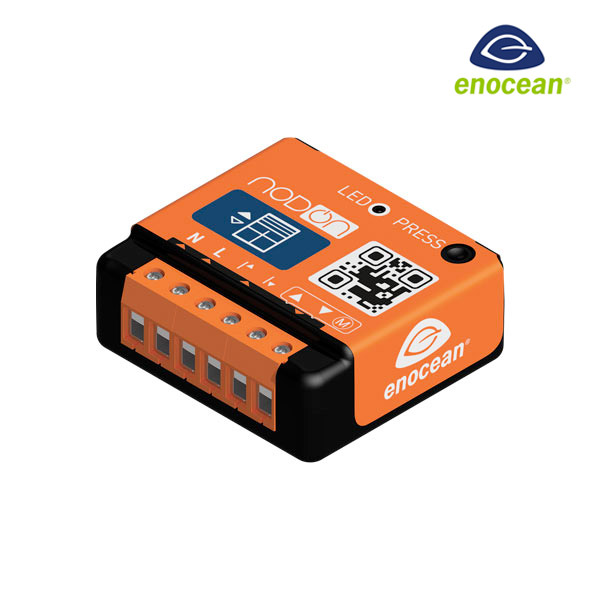
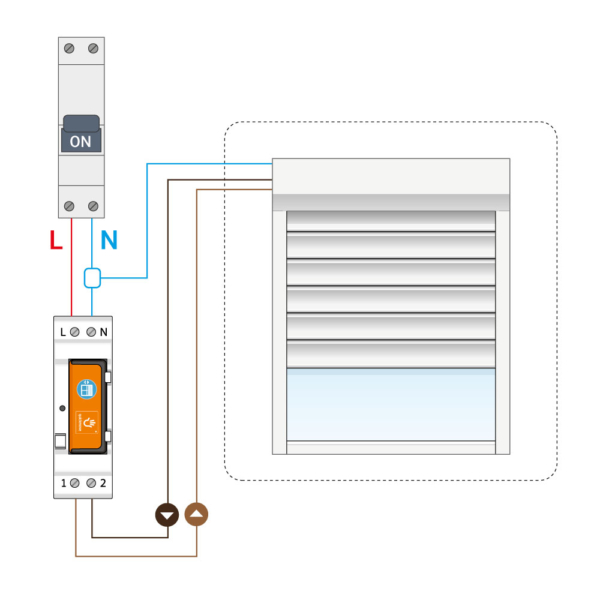
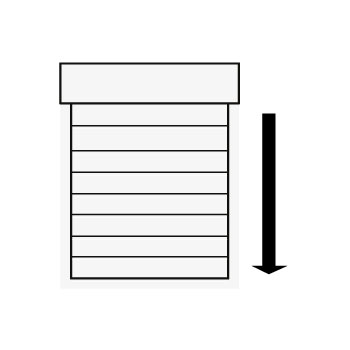
Roller Shutter Relay Switch
On a Roller Shutter –with wall switch
On a Roller Shutter – without wall switch
Installation at the electrical panel - NodOn DIN Rail Box is needed
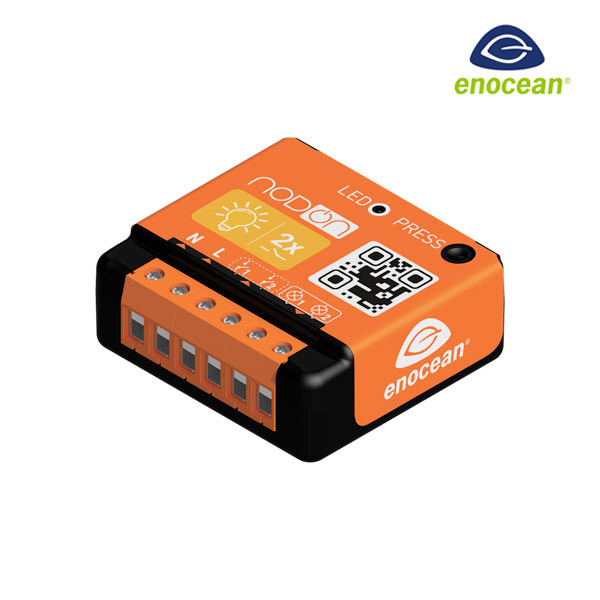
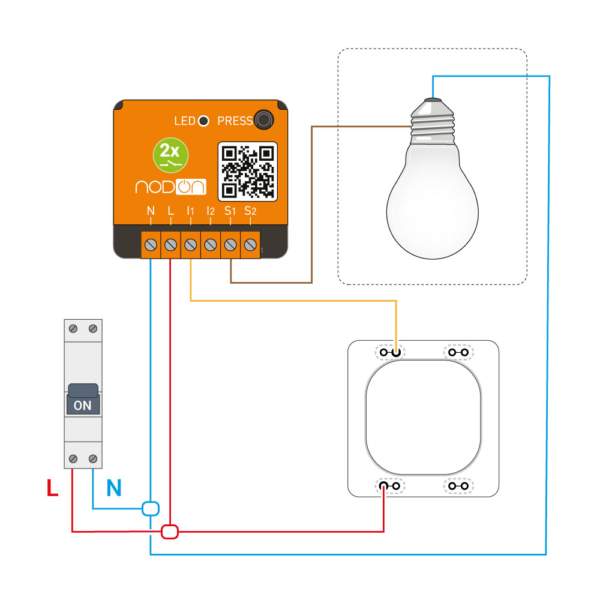
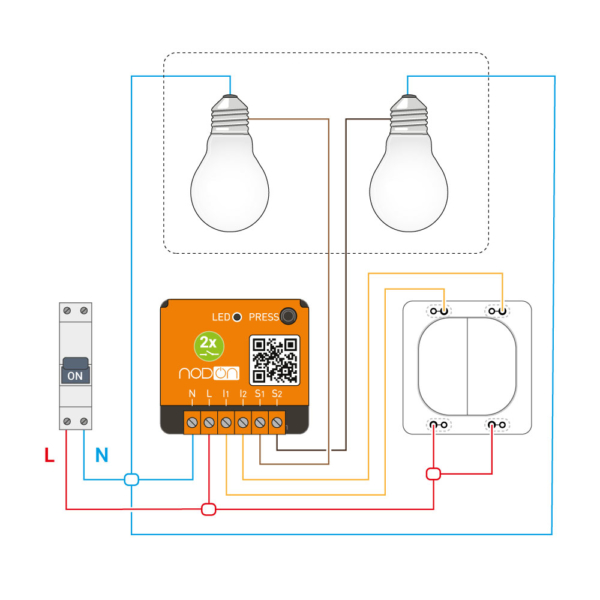
ON/OFF Lighting Relay Switch
For simple wired wall switch
For double wired wall switch
Devices pairing
To pair the Roller Shutter Relay Switch to the wired wall switch behind which the ON/OFF Lighting Relay Switch is wired, follow the opposite procedure.
Two modes :
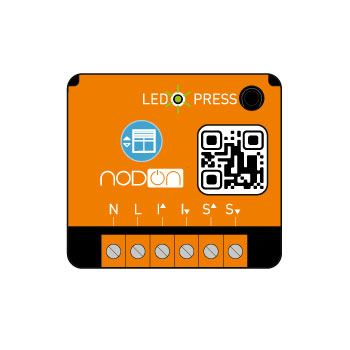
From the module (under power supply)
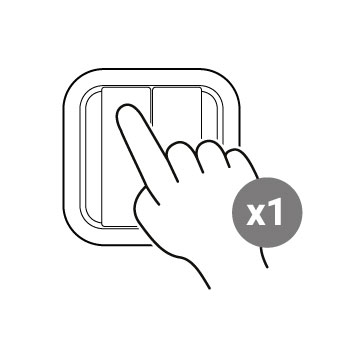
1. Launch the pairing by doing 3 consecutive presses on the button of the module. The LED blinks in red. 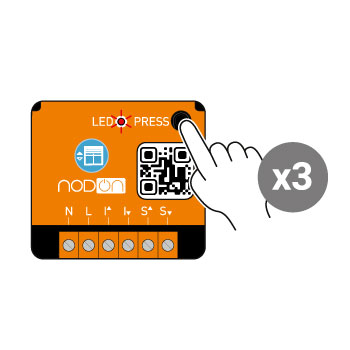
2.You have now 30 seconds to pair your emitter by briefly pressing on the button of your choice (less than a second), this one will control the rise of your roller shutter/awning.
3.The module LED blinks twice in green, confirming the pairing.
Note : if the LED blinks orange during the pairing procedure, it means that more than 24 emitters are paired and that no more emitter can be paired. You must remove one emitter to add a new one.
From the wired wall switch
1.Put the roller shutter/awning on position down.

2.Do 3 times the cycle “down – stop” with the wired wall switch.
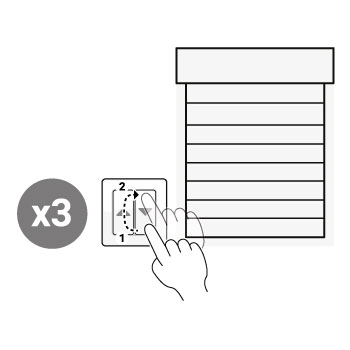
3.The roller shutter/awning will rise of 10%.
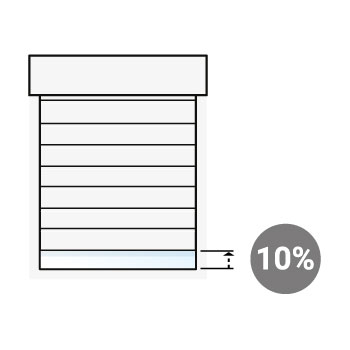
4.Remote or wall switch: You have 30 seconds to pair your emitter by briefly pressing the button of your choice (less then a second), this one will control the rise of your roller shutter/awning.
5.The roller shutter/awning confirms the pairing by closing completely.
Technical support
You have a specific question or need help regarding the installation or use of your product? Contact us by email at rf.no1714099121don@t1714099121roppu1714099121s1714099121 or at +33 7 68 04 20 90.